Vertical Monitor Setup Guide: Boost Productivity and Improve Comfort
Have you ever stared at your screen while scrolling endlessly through a long document or a wall of code? You scroll down, then scroll some more, and somehow you’re still not at the bottom. It’s exhausting. That’s exactly the frustration a vertical monitor setup is designed to solve.
More developers, writers, and remote workers are rotating their screens in 2025. And honestly? Once you try it, going back feels weird. This guide walks you through everything, from the basics to the best ergonomic practices, so you can set yours up the right way.
What Is a Vertical Monitor Setup?
A vertical monitor setup simply means rotating your display 90 degrees so it stands taller than it is wide. Instead of the usual widescreen view, you get a tall, narrow screen. Think of it like holding your phone, but make it a full monitor.
This portrait display configuration has been popular among coders and writers for years. But lately, it’s been spreading into design workflows, customer support desks, and even gaming peripherals. The idea is simple: some content is just taller than it is wide.
When you flip a standard 1080p monitor, the resolution shifts from 1920×1080 to 1080×1920. That single change can completely transform how you interact with your content.
Read More: 21+ Genius Triple Monitor Setup Ideas to Boost Comfort and Productivity
Portrait Mode vs Landscape Mode: Core Differences
Landscape mode is what most people use by default. It’s wide and short. It works beautifully for video, spreadsheets, and general browsing. Portrait mode, on the other hand, is narrow and tall. It’s built for vertical content, long pages, stacked timelines, and lines of code.
In landscape, you’re constantly scrolling left to right, or more commonly, up and down through content that doesn’t fit. In portrait, that same content fits naturally. You see more lines of code at once. You read full articles without interruption. The screen real estate expansion you get vertically is genuinely surprising.
There’s also a psychological shift. Landscape feels cinematic. Portrait feels like a page. Depending on your workflow, one of those is clearly going to serve you better.
Key Benefits of a Vertical Monitor Setup
Let’s be direct, not everyone needs a vertical monitor. But for the right person, the benefits are hard to ignore.
The biggest win is seeing more content without scrolling. If you write long-form articles, review PDFs, or read documentation daily, you’ll immediately notice the difference. You’re no longer wrestling with your scroll wheel every thirty seconds.
For programmers especially, the coding monitor layout in portrait mode is a game-changer. You can see more lines simultaneously, which makes debugging and code review far less painful. A lot of developers say they can’t go back after trying it.
Document editing also gets smoother. A standard A4 or Letter page fits almost perfectly in portrait orientation. You see the whole page. No awkward white space on the sides, no invisible content hiding at the bottom.
There’s also a workspace optimization angle. If you use a multi-monitor workstation, one vertical display paired with a horizontal one covers almost every use case. You get your wide screen for multitasking and your tall screen for focused work. That combination alone is worth the setup time.
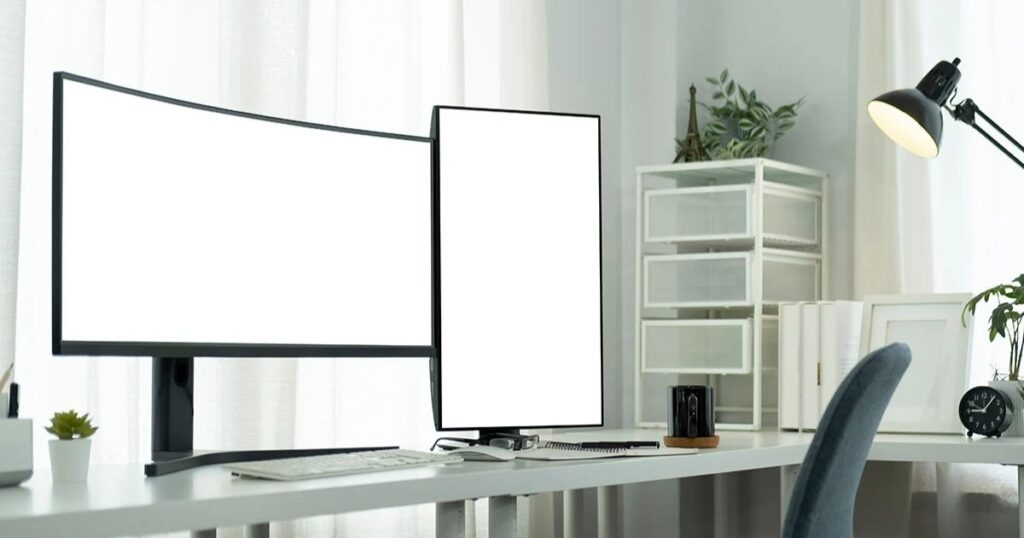
Single Vertical Monitor vs Dual Vertical Monitors
A single vertical monitor is the most common starting point. You rotate one screen and immediately unlock more vertical space. Simple, low-cost, effective.
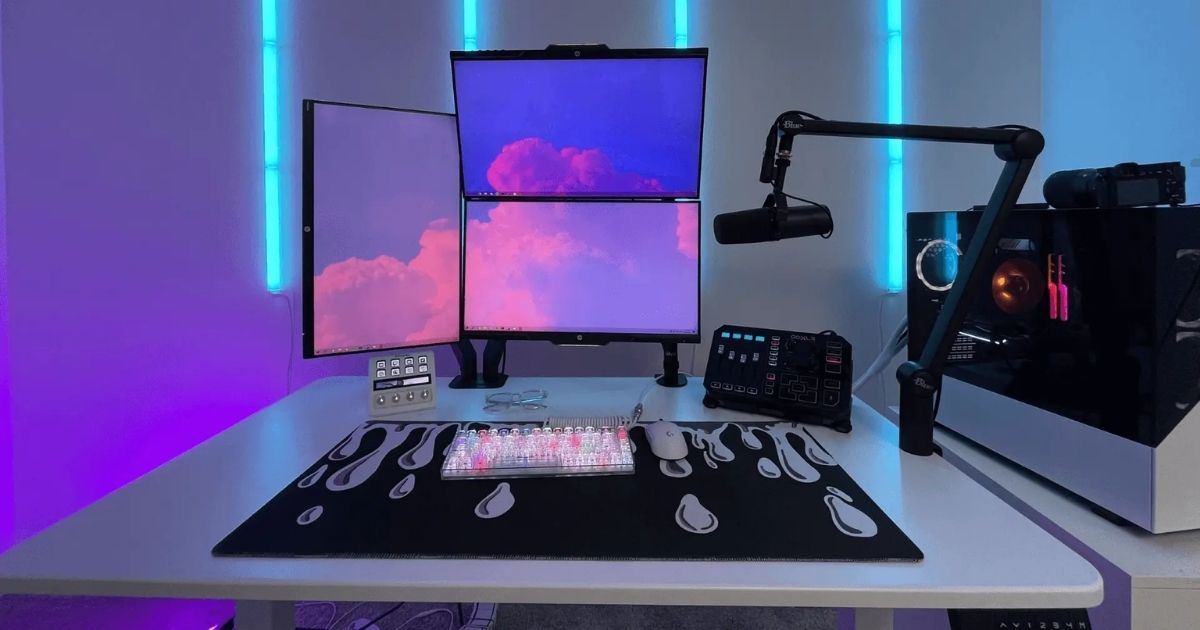
Dual vertical monitors take things further. You get double the portrait real estate. This setup is popular with legal professionals, researchers, and anyone who compares documents side by side. Imagine two full A4 pages open simultaneously, that’s essentially what you’re getting.
The tradeoff? You need a wider desk and a solid monitor arm for desk placement. Cable management becomes important too. But if your workflow demands heavy document work, dual verticals are genuinely hard to beat.
Who Should Use a Vertical Monitor Configuration?
This is where things get specific. A vertical monitor configuration isn’t for everyone, but for certain people, it’s almost essential.
Developers and engineers benefit the most. Seeing 60 or 80 lines of code instead of 30 changes how you work. Code review, debugging, and reading documentation all become more efficient.
Writers and editors love it for obvious reasons. Long articles, manuscript pages, and editorial drafts all flow better in portrait mode. You see the structure of your writing more clearly.
Social media managers and content creators also find value here. Vertical feeds on Twitter, Instagram, and TikTok are designed for tall screens. Managing those platforms from a portrait display feels natural rather than forced.
Legal and finance professionals who work with long contracts or spreadsheet data can benefit too. Even customer support agents who monitor ticket queues and chat logs in long threads find portrait orientation easier to navigate.
If you spend most of your day watching movies or using spreadsheets that run horizontally, a vertical screen probably isn’t your primary display. But as a secondary screen? It complements almost any workflow.
Vertical vs Horizontal Monitors: Which Is Better?
This isn’t really an either-or situation. Both orientations are better at different things. But since people ask, here’s an honest breakdown.
Horizontal monitors are better for wide content, videos, spreadsheets, presentations, gaming, and general multitasking. The 16:9 aspect ratio was built for those use cases, and it shows. Most software is designed around a horizontal screen by default.
Vertical monitors are better for tall content, code, documents, feeds, emails, and reading. The moment you realize how much scrolling you’re doing on a landscape screen, the appeal of portrait mode becomes obvious.
The real answer most professionals land on is both. A mixed vertical and horizontal setup covers all the bases. One wide screen for creative tools, video, and browser tabs. One tall screen for writing, code, or reference material. This dual monitor layout has become the standard for serious home office and professional desk setups.
How to Choose the Right Monitor for Portrait Orientation
Not every monitor is well-suited for vertical use. A few things matter a lot when you’re shopping for one.
First, check that it has a pivot feature. This is a built-in stand mechanism that lets you rotate the screen 90 degrees without extra hardware. Many business-class monitors include it. Consumer monitors sometimes skip it to cut costs. Always verify before buying.
Second, look at the VESA mount compatibility. The 75x75mm VESA pattern and 100x100mm VESA mount are the two most common standards. If your monitor supports either, you can attach a monitor arm and rotate it freely. This gives you far more flexibility than a built-in stand.
Third, consider the resolution. A 1440p vertical monitor offers noticeably sharper text than a 1080p display in portrait mode. If you’re reading code or documents all day, that extra sharpness reduces eye strain. A 4K portrait monitor takes it even further, though it requires more graphics card compatibility consideration.
Screen size matters too. Most people find 24 to 27 inches ideal for portrait use. A 27-inch monitor in portrait is tall. Some people love the immersion. Others find it uncomfortable. We’ll address the 27-inch question more specifically later.
IPS vs VA vs TN Panels for Vertical Viewing
Panel type affects how your vertical display looks from different angles, and this becomes more important when the screen is rotated.
IPS panel technology is the most recommended for portrait setups. Colors stay consistent even when you’re viewing from slightly off-center. Since a tall screen naturally creates more angle variation from top to bottom, IPS panels handle that gracefully. Text looks sharp. Images remain vibrant.
VA panel displays offer stronger contrast ratios and deeper blacks. They’re excellent for dark-mode environments and reading at night. The downside is some color shifting at the very top and bottom of the screen in portrait mode, which can be distracting on larger displays.
TN panel viewing angles are the weakest of the three. In landscape mode, TN panels are passable. In portrait mode, where you’re viewing content across a taller vertical span, color accuracy at the top versus the bottom becomes noticeable. Unless budget is a major constraint, TN panels are not ideal for vertical use.
For most people, developers, writers, and everyday users, an IPS panel is the safest and most satisfying choice for portrait orientation.
Step-by-Step Guide to Setting Up a Vertical Monitor
Setting up a vertical monitor is straightforward once you know the steps. Let’s walk through it.
Using a Built-In Pivot Stand
If your monitor has a pivot feature, this is the easiest route. First, raise the monitor to its maximum height using the stand’s adjustment mechanism. This prevents the screen from hitting your desk surface during rotation. Then, firmly grip the sides of the monitor and slowly rotate it clockwise or counter-clockwise, most stands support both directions, until it’s in portrait orientation. You’ll feel it lock into position if the stand includes a detent. Once it’s upright, tilt it slightly to find a comfortable viewing angle.
Installing a VESA Mount or Monitor Arm
If your monitor doesn’t have a pivot stand, a VESA-compatible monitor arm is your next option. First, remove the existing stand by flipping the monitor face-down on a soft surface and unscrewing the stand from the VESA plate on the back. Attach your monitor arm using the matching VESA pattern, either 75x75mm or 100x100mm. Tighten the bolts securely, then rotate the arm’s mount head to portrait orientation. Good cable management for monitors becomes important here, route your cables along the arm to keep things clean.
Adjusting Display Settings on Windows
Once the monitor is physically rotated, your operating system needs to know about it. On Windows, right-click the desktop and open Display Settings. Select the monitor you rotated. Under the “Display orientation” dropdown, choose Portrait. Click Apply. Windows will rotate the screen to match. If content looks upside down, choose Portrait (flipped) instead. You can also adjust DPI scaling settings here to ensure text and icons appear at the right size on your now-taller display.
Adjusting Display Settings on macOS
On macOS, open System Settings (or System Preferences on older versions) and navigate to Displays. Click on the rotated monitor. You’ll see a Rotation option, select 90 degrees or 270 degrees depending on which direction you rotated physically. The display will confirm and adjust. macOS Display Arrangement allows you to drag and reposition the monitor relative to your other screens so your cursor moves naturally between them.
If you’re using an NVIDIA GPU, the NVIDIA Control Panel gives you more granular rotation options. AMD users can access similar controls through AMD Radeon Software.
Best Vertical Monitor Setup Ideas for Different Workflows
There’s no single best configuration, it depends entirely on what you do all day. But here are some layouts that genuinely work.
For developers, a vertical monitor on the left for code and a horizontal monitor on the right for browser, documentation, and communication tools is the gold standard. You see more lines. You context-switch less. Your productivity monitor setup pays for itself in saved time.
For writers and editors, a full-page view in portrait mode paired with a wide horizontal display for research tabs and reference tools works extremely well. The document feels real. You edit faster.
For social media professionals, a stacked monitor configuration with one portrait screen dedicated entirely to feeds and scheduling tools keeps everything scrollable and within sight.
Mixed Vertical and Horizontal Monitor Layout
The mixed vertical and horizontal monitor layout is arguably the most versatile setup for professionals. One landscape monitor handles video calls, creative tools, and wide-format software. The portrait monitor handles everything vertical, documents, code, feeds, dashboards.
This configuration also works brilliantly for anyone who does both creative and technical work. You’re not forced to choose one orientation for everything. Each screen does what it’s best at.
Ergonomic Tips for Long-Term Comfort
Setting up a vertical monitor the right way means thinking beyond the screen itself. Ergonomics matter, a lot.
According to the ANSI/HFES 100-2007 standard, the top of your monitor should be at or slightly below eye level. In portrait mode, your display is taller, which can push the upper edge too high if you’re not careful. Adjust your adjustable monitor stand or arm so that the midpoint of the screen sits at roughly eye level.
Follow the 20-20-20 rule. Every 20 minutes, look at something 20 feet away for 20 seconds. This reduces the eye strain that comes from any extended screen time, vertical or horizontal.
Consider enabling blue light filter mode in the evening. Most modern monitors include this natively, and it makes a genuine difference for evening work sessions.
Keep your monitor at an arm’s length distance, roughly 50 to 70 centimeters. In portrait mode, people sometimes drift closer to read text at the top of a tall screen. Resist that urge. Proper distance protects your eyes and your neck.
Position your keyboard and mouse so your arms are relaxed and not elevated. An ergonomic desk setup with a monitor in portrait mode should feel natural, not strained. If your neck is constantly tilted up or your shoulders feel tense, something needs adjusting.
Common Problems and How to Fix Them
Even straightforward setups run into issues. Here are the most common ones and how to handle them.
Troubleshooting Resolution and Scaling Issues
After rotating your display, you might notice blurry text, oversized icons, or content that doesn’t fill the screen properly. This usually comes down to DPI scaling settings not updating automatically.
On Windows, go to Display Settings and set a custom scaling level for the rotated monitor. If the resolution looks off, verify that Windows Display Settings shows the native resolution of the screen, for most monitors, that’s either 1920×1080 (which becomes 1080×1920 in portrait) or 2560×1440 (which becomes 1440×2560). Forcing the correct resolution manually usually resolves visual inconsistencies.
Some apps, particularly older Windows programs, don’t handle high DPI well. Right-clicking the app, going to Properties, then Compatibility, and enabling “Override high DPI scaling behavior” often fixes those specific cases.
Solving Refresh Rate and Graphics Driver Limitations
If you notice your display dropping to a lower refresh rate after rotation, it’s likely a graphics driver or cable issue. First, check what refresh rate is active under Display Settings or NVIDIA Control Panel. If it’s lower than expected, switch to a DisplayPort 1.4 cable if you’re not already using one. HDMI 2.0 supports high refresh rates too, but some cables are mislabeled and don’t deliver full bandwidth.
A refresh rate of 144Hz on a vertical monitor is absolutely achievable with the right cable and driver configuration. If you’re gaming or doing motion-sensitive work in portrait mode, that matters.
Also ensure your graphics drivers are up to date. Outdated drivers occasionally cause rotation and refresh rate conflicts. AMD Radeon Software and NVIDIA’s driver updater both handle this automatically if you allow them to.
Is a 27-Inch Monitor Too Big for Vertical Use?
This question comes up constantly, and the answer depends on your desk height and viewing distance.
A 27-inch monitor in portrait mode stands roughly 60 to 65 centimeters tall. That’s significant. If your desk is at standard height and you sit close to it, you’ll be tilting your head up frequently to read content near the top of the screen. That leads to neck strain fast.
However, if you position it correctly, raised on an arm, pushed slightly back on the desk, and viewed at proper distance, a 27-inch portrait display is genuinely comfortable. Many developers and finance professionals use 27-inch verticals daily without issues.
For most people starting out, a 24-inch monitor in portrait is the sweet spot. It’s tall enough to show meaningful content and small enough to keep everything within a comfortable eye-movement range. If you already own a 27-inch and want to try portrait mode, go for it, just be intentional about positioning and height.
High-resolution vertical displays at 27 inches also benefit from better pixel density. A 1440p vertical monitor at 27 inches gives you 109 PPI, which keeps text crisp and readable. Monitor color calibration matters too, if you’re doing design work or photography, calibrate after rotating to ensure accuracy isn’t compromised.
FAQ’s
Can any monitor be used in a vertical setup?
Most monitors can go vertical, but you need either a pivot-capable stand or a VESA-compatible mount. Always check your monitor’s specs before purchasing a separate arm.
Does a vertical monitor hurt productivity for general use?
For wide-format tasks like spreadsheets or video editing, a vertical screen isn’t ideal as a primary display. As a secondary monitor, it typically boosts rather than hurts overall productivity.
What resolution is best for a vertical monitor?
A 1440p vertical monitor strikes the best balance of sharpness and performance. 4K is excellent for large screens but demands more from your GPU.
Do I need a special cable for a rotated monitor?
No special cable is needed. However, using DisplayPort 1.4 or HDMI 2.0 ensures you maintain full resolution and refresh rate after rotation.
Is portrait mode bad for your eyes?
Not inherently. Follow the 20-20-20 rule, keep proper viewing distance, and enable blue light filter mode in the evening to protect your eyes during long sessions.
Final Thoughts
A vertical monitor setup isn’t a gimmick. For the right workflow, it’s one of the most practical upgrades you can make to your workspace. It reduces scrolling, improves focus, and makes content like code, documents, and feeds easier to navigate.
Whether you’re pairing it with a horizontal screen for a mixed layout or going fully vertical, the key is getting the ergonomics right. Rotate the screen, update your display settings, and adjust the height until the midpoint sits at eye level.

Evan Cole is a tech enthusiast and digital strategist with years of experience in content marketing and SaaS trends. He explores emerging technologies, AI innovations, and SEO-driven growth strategies. Evan’s insights help readers understand complex tech topics through practical examples and real-world applications that inspire smarter digital solutions.