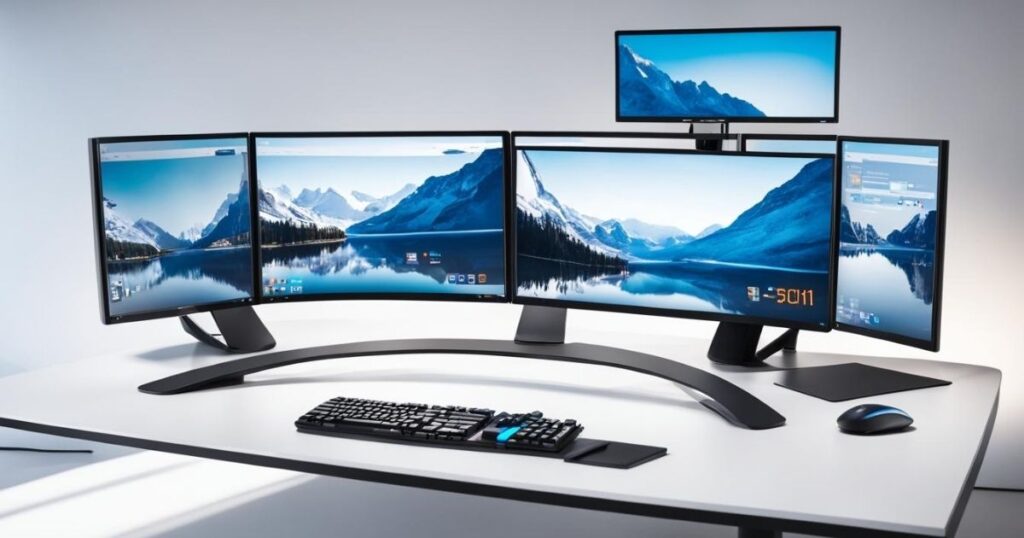
Stacked Monitor Setup: Maximize Desk Space, Boost Productivity & Enhance Workflow
If you’ve ever found yourself drowning in open tabs, constantly alt-tabbing between windows, or squinting at a single screen while juggling a dozen tasks, you already know the frustration. The stacked monitor setup isn’t just a trend you spot in tech YouTubers’ videos. It’s a genuine productivity solution that’s quietly changing how people work, game, trade stocks, and edit video. Let’s dig into everything you need to know before you start stacking.
Why Stacked Monitors Are a Game-Changer
Think about how you actually work. You’re probably referencing one document while typing in another. Or watching a tutorial while building something. Or tracking data feeds while answering emails. A single screen just doesn’t cut it. And the traditional side-by-side setup? It eats up your entire desk and forces your neck to swivel left and right like you’re watching a tennis match all day.
Stacked monitors solve both of these problems in one elegant move. You get double the screen real estate without losing an inch of horizontal desk space. Your eyes move naturally up and down, which is far closer to how you scan a physical document. Less neck rotation means less strain. More screen space means fewer context switches. And fewer context switches means you actually get more done without burning out.
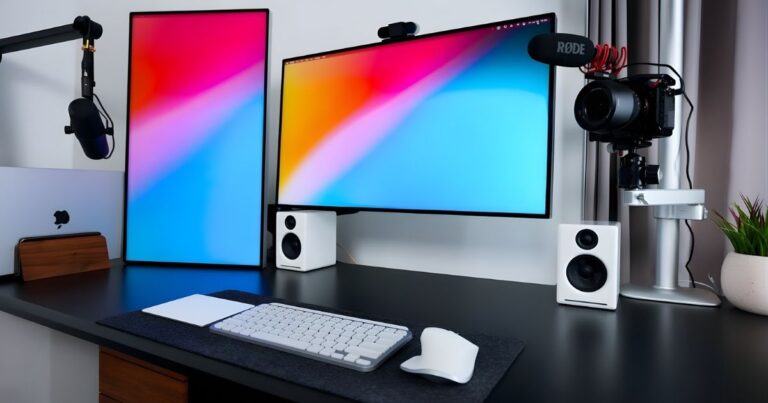
People who’ve made the switch often describe it as one of those things where you wonder how you ever worked any other way. Developers, traders, video editors, and even serious gamers are all discovering this. Once you go stacked, the side-by-side setup starts to feel like a compromise.
Read More: Innovation News DualMedia 2026: The Ultimate Guide to Next-Generation Tech Journalism
What Are Stacked Monitors and How They Differ from Side-by-Side Setups
A stacked monitor setup places two or more monitors vertically, one on top of the other, rather than positioning them horizontally side by side. The result is a tall, narrow column of screens that sits directly in front of you within your natural line of sight.
Side-by-side setups have been the default for years, and they make sense for certain use cases, like panoramic gaming or ultrawide video editing timelines. But they come with real trade-offs. Your primary screen ends up off-center unless you’re using an ultrawide. The monitor seam runs right down the middle of your visual field. Your desk stretches out like an airport runway. And if you’re working in a corner or a narrow space, fitting two monitors side by side becomes a puzzle in itself.
With a vertical multi-monitor arrangement, everything changes. Both screens sit directly ahead of you. Your primary workspace lives at eye level. Secondary content, reference material, chat windows, dashboards, or code logs, all live just above or below without demanding your peripheral vision. The bezel line runs horizontally, which your brain handles much more naturally than a vertical divide cutting through content you’re actively reading.
It’s also worth noting that stacked setups work beautifully with ultrawide monitors at the bottom and a standard widescreen on top, or two matching screens in perfect symmetry. There’s genuine flexibility here that side-by-side doesn’t always allow.
Key Benefits of a Stacked Monitor Setup: Space, Ergonomics, and Productivity
Let’s start with the obvious one: desk space optimization. When you remove the horizontal footprint of a second monitor, you suddenly have room. Room for a notepad. Room for your coffee. Room to spread out reference materials, a drawing tablet, or even just room to breathe. Your workspace feels less like a command bunker and more like a productive, comfortable place to actually think.
On the ergonomic side, a well-configured stacked setup supports healthier posture. Your primary monitor sits at eye level. Your secondary screen sits slightly above or below. You tilt your head, not your spine. Over a long workday, that distinction matters more than most people realize. Eye strain reduction is another genuine benefit, especially when your monitors are matched in brightness, contrast, and color temperature. Looking between two screens with wildly different calibration settings is quietly exhausting, and a vertical arrangement makes it easier to keep consistent settings across a narrower visual field.
Workflow optimization is where things really get interesting. Imagine you’re a developer with your code editor on the bottom screen and your terminal, documentation, or browser preview on the top. Or a trader with live charts below and news feeds, order books, and analytics above. Or a video editor with your timeline on the bottom and your preview window on top. Each of these configurations allows your brain to compartmentalize tasks spatially, which is actually how focused concentration works best. Different tasks get different zones. Your working memory doesn’t have to hold as much because your eyes can simply look.
The productivity gains aren’t just theoretical. Studies on multi-screen environments consistently show that reducing the friction between tasks has a measurable impact on output. Fewer clicks, fewer alt-tabs, fewer lost trains of thought.
Choosing the Right Monitors: Size, Resolution, Refresh Rate, and Bezel Considerations
Not every monitor pairs well in a stacked arrangement. Before you buy, there are a few things worth getting right from the start.
Size matters more vertically than it does horizontally. Two 27-inch monitors stacked will create a tall display column that might actually exceed your comfortable viewing arc if your desk is shallow. For most setups, two 24-inch or 27-inch screens hit the sweet spot. If you’re mixing sizes, keep the larger one at the bottom so the primary workspace stays grounded.
Resolution is where you should be willing to invest. A 1440p monitor setup on both screens gives you sharp, detailed text and imagery without the scaling headaches that sometimes come with 4K stacked monitors on certain operating systems. That said, if your workflow involves detailed image or video work, 4K on at least the primary screen is worth the extra cost.
Refresh rate matters most for gaming and fast-paced workflows. High refresh rate gaming monitors at 144Hz or above will feel noticeably smoother if you’re gaming on one screen while streaming or chatting on the other. For office or creative work, 60Hz or 75Hz is perfectly adequate. Don’t let specs you don’t need drive up your budget.
Thin bezel monitors are genuinely worth seeking out for stacked setups. The bezel between your two screens is the one visual interruption you can’t eliminate, only minimize. Monitors with slim top and bottom bezels keep that horizontal dividing line from feeling intrusive. IPS panel displays are the preferred choice for most non-gaming use cases because of their color accuracy and wide viewing angles, which matter when your secondary screen is above or below your direct line of sight.
VESA compatibility is non-negotiable. Almost every decent monitor sold today supports VESA mounting, but double-check before purchasing, especially with budget monitors that sometimes use proprietary stands.
Selecting the Perfect Monitor Arm or Mount for Vertical Setups
Your stacked monitor setup is only as stable and adjustable as the arm or mount holding it together. This is the piece of the puzzle most people underestimate, and it’s where cutting corners tends to bite you.
There are two broad categories to consider. Dual monitor arms designed for vertical stacking give you independent control over each screen’s height, tilt, and rotation. Heavy-duty gas-spring monitor arms are the gold standard here. They support heavier monitors effortlessly, hold position without drifting over time, and make height adjustments as smooth as lifting a piece of paper. If your monitors are on the heavier side, don’t skimp here.
The second category is fixed stacking brackets or mounts. These are simpler and cheaper but sacrifice adjustability. If you’ve already dialed in the perfect height and tilt during setup and don’t expect to move things around, a fixed bracket can work fine. Just know that you’re committing to one position permanently.
When it comes to desk attachment, you’ll choose between a desk clamp and a grommet mount. Desk clamps attach to the edge of your desk and work well for most standard setups. Grommet mounts pass through a hole in your desk surface and offer a cleaner look with greater stability, especially for heavier monitor configurations. Neither is objectively better; it comes down to your desk’s construction and your preference for aesthetics.
Always check the weight capacity of any arm before purchasing. VESA-compatible mounts usually specify the maximum weight they can handle per arm. Going over that limit is a recipe for a very bad desk day.
Step-by-Step Installation: Mounting and Positioning Your Monitors
Once you’ve got your monitors and your arm or mount selected, the actual installation is more straightforward than most people expect.
Start by removing the factory stand from both monitors. Most stands detach with a few screws at the VESA mounting pattern on the back. Keep those screws because you’ll use them to attach the VESA plate from your arm. Attach the VESA plates securely, making sure the fit is snug and the plate doesn’t wobble.
Next, attach your monitor arm to the desk. If you’re using a clamp mount, position it at the center of your workspace, not the edge of the desk. Tighten the clamp firmly but without over-torquing it, since too much pressure can damage some desk surfaces. For a grommet mount, thread it through your desk hole and secure it from underneath.
Now mount the lower monitor first. Position it at eye level, roughly at the height where your eyes naturally rest when you’re sitting in your normal working posture. This is an important step that most guides rush past. Sit down before you finalize the height. Seriously, don’t eyeball it while standing.
Once the lower screen is set, mount the upper monitor directly above it. The ideal gap between the two screens is as small as your bezels allow without the monitors physically touching. This keeps the visual transition between screens smooth. Tilt the upper monitor slightly downward, angling it toward your face. This improves readability significantly when you glance upward.
Finally, step back and look at the full setup from your seated position. Adjust tilt and height until both screens feel comfortable to view without tilting your head at an awkward angle.
Cable Management and Connectivity Tips for a Clean Workspace
A stacked setup with cables dangling everywhere defeats the purpose. Part of what makes vertical monitor configurations look so sharp is the clean, intentional aesthetic. Cable routing for stacked monitors requires just a bit of planning up front.
Start at the monitors themselves. Most monitor arms include built-in cable channels or clips along the arm. Route your display cables, power cables, and USB connections through these channels before you finalize your mount positions. It’s much easier to do this before everything is tightened down.
Use velcro cable ties rather than zip ties. Velcro allows you to adjust or reroute cables later without cutting anything. Group your cables by type and run them together in a single bundle down the back of the arm and toward your cable management solutions at the desk level.
For the desk itself, a cable raceway or under-desk tray keeps the remaining cable runs off your desktop. Most home improvement stores carry adhesive cable raceways that you can stick to the underside of your desk and run power cables and display cables through cleanly.
On the connectivity side, make sure your computer or laptop’s GPU can drive two monitors simultaneously. Check your available ports before purchasing cables or adapters. DisplayPort and HDMI are the most common. Using a USB-C to DisplayPort cable is perfectly fine for many modern laptops. If you’re daisy-chaining monitors through DisplayPort, confirm that your monitors support DisplayPort Multi-Stream Transport, as not all do.
A powered USB hub mounted under the desk can also clean up the USB cable situation considerably, giving you a central point for peripherals without cables crossing the desk surface.
Configuring Display Settings on Windows and Mac
Getting your displays physically stacked is only half the job. You need to configure your operating system to recognize and arrange the monitors correctly too.
On Windows, right-click your desktop and open Display Settings. You’ll see a visual diagram of your connected monitors. Drag the monitor icons to match your physical arrangement, placing one above the other. Make sure the alignment is accurate because this controls where your mouse cursor transitions between screens. Set your primary display as the one at eye level, which is your main working screen. Adjust resolution and scaling individually for each monitor, especially if you’re running different sizes or resolutions. For users who want to configure stacked monitors on Windows more precisely, the Advanced Display Settings menu gives you refresh rate control and color depth options per screen.
On Mac, go to System Settings, then Displays. You’ll see a similar visual arrangement tool. Drag the display icons to match your vertical layout. Mac handles scaling elegantly, especially on Apple Silicon machines, but if you’re mixing a Retina display with a standard external monitor you may need to experiment with resolution settings to find a comfortable match. To extend displays rather than mirror them on Mac, make sure Mirror Displays is unchecked in the Arrangement tab.
One thing many people overlook is brightness and contrast calibration. Both screens should feel visually consistent when you glance between them. A significant difference in brightness between your top and bottom monitors will fatigue your eyes faster than almost anything else. Take five minutes to match them using each monitor’s on-screen display menu and your system’s color calibration tools.
Optimizing Ergonomics: Height, Tilt, and Eye Comfort
Even a perfectly assembled stacked monitor setup can cause discomfort if the ergonomics aren’t dialed in. This section is worth spending real time on.
The lower monitor’s top edge should align roughly with your eye level when you’re seated with good posture. Your eyes should hit roughly the top third of the lower screen naturally, without tilting your head. This mimics the ergonomic positioning used in professional workstations and helps prevent the neck strain that can creep up after long sessions.
The upper monitor should be tilted downward by about 10 to 15 degrees toward your face. When you look up at it, your gaze should hit the center of that screen comfortably. If you find yourself tilting your head back to see the upper screen, it’s mounted too high. Lower it until your neck stays neutral.
Ergonomic monitor positioning also extends to your viewing distance. Both screens should sit roughly 20 to 30 inches from your eyes, following the standard ergonomic guideline. If your desk is too shallow to achieve this, consider a monitor arm that allows you to push the screens forward or backward independently.
For eye comfort, enabling night mode or a blue light filter in the evening reduces the visual fatigue that comes with long screen time. Matching the color temperature of both monitors helps too. If one screen looks warm and yellow while the other looks cold and blue, your eyes constantly recalibrate as you switch between them, which is tiring without you even realizing it.
Good lighting in your workspace matters as well. Avoid placing your monitors directly in front of a bright window. Glare on either screen will push you to increase brightness unnecessarily, which increases eye strain. A desk lamp positioned off to the side, rather than behind or in front of your screens, gives you ambient light without creating reflections.
Recommended Stacked Monitor Setups for Professionals, Gamers, and Traders
Different use cases call for different configurations. Here are some genuinely practical recommendations based on real workflow needs.
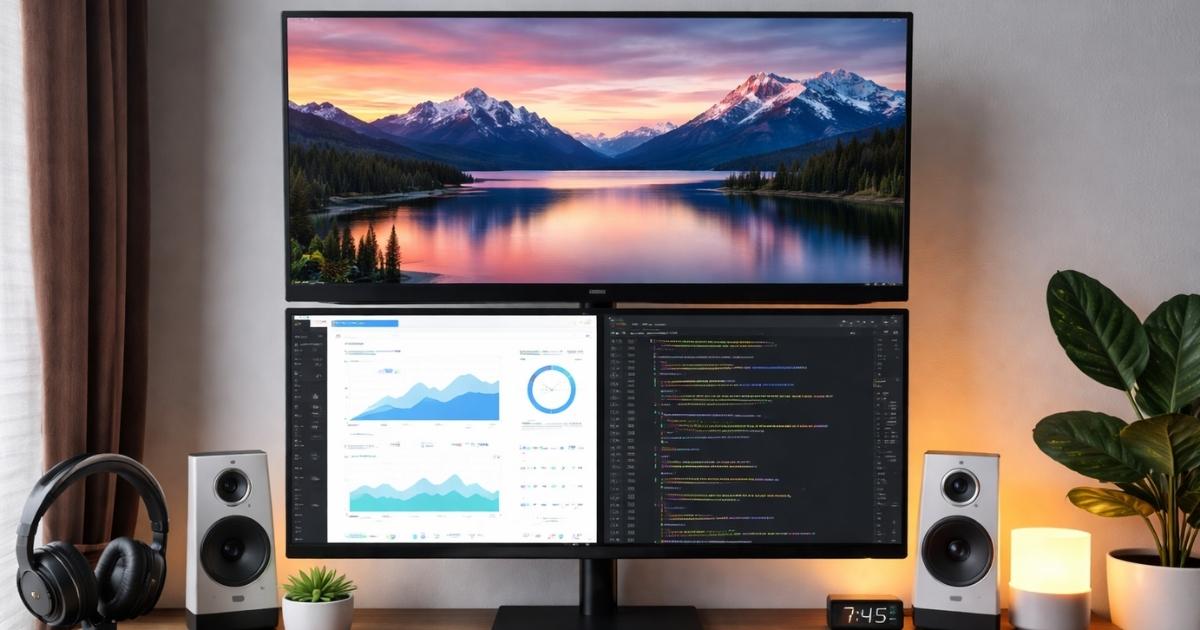
For professionals and developers, a dual 27-inch 1440p IPS setup is hard to beat. Both screens offer sharp text and excellent color accuracy. The developer workflow of code on one screen and documentation, terminal, or preview on the other translates perfectly to a vertical layout. A gas-spring dual arm keeps things adjustable, and a VESA-compatible mount with cable channels keeps the look clean. This kind of professional workstation setup hits the balance between performance, comfort, and value without going overboard.
For video editors, the configuration shifts slightly. A larger 32-inch 4K primary monitor at the bottom gives you the real estate for your editing timeline and preview at full resolution. A secondary 24-inch or 27-inch screen above handles your media browser, effects panel, or project notes. Video editing monitors benefit enormously from IPS panels with wide color gamut coverage, so look for displays that cover at least 95% of the DCI-P3 color space if color accuracy matters in your work.
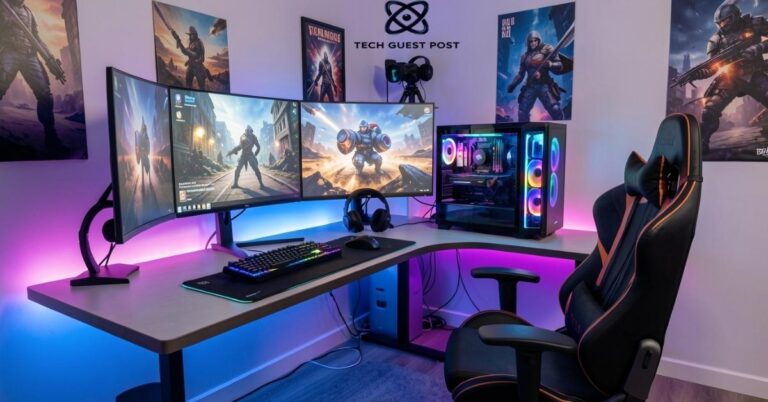
For gaming, the stacked monitor setup takes on a slightly different character. Most serious gamers keep their primary gaming monitor as the main display, running at 144Hz or higher for smooth gameplay. The secondary screen above handles Discord, stream dashboards, Twitch chat, or browsing without interrupting the gaming experience. For this use case, a high refresh rate gaming monitor at the bottom and a solid secondary screen above works brilliantly. Just make sure your GPU can handle driving both simultaneously at your target resolutions.
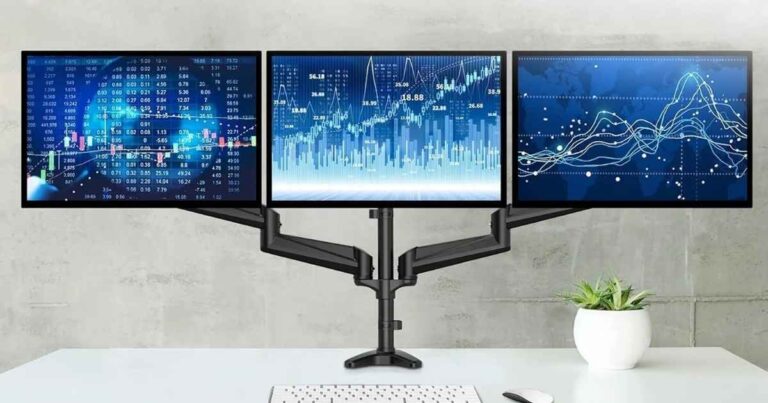
For stock traders, the vertical productivity layout is practically purpose-built. A stock trading monitor setup often involves multiple data streams running simultaneously. Stacked screens let you keep your charting platform on one screen and your news feed, order book, or analytics on the other, all within a single focused column of information directly in front of you. Traders who’ve made the switch frequently report feeling more focused and less overwhelmed than with sprawling side-by-side configurations.
FAQ’s
Can any monitor be used in a stacked setup?
Most monitors with VESA mounting holes can be used in a stacked configuration. Check the back of your monitor for VESA compatibility and confirm your chosen arm or mount supports the weight and size of your screens.
Do stacked monitors cause more neck strain than side-by-side?
Not when set up correctly. With proper height and tilt adjustment, vertical monitor setups can actually reduce neck strain compared to side-by-side arrangements that force lateral head movement throughout the day.
What is the best monitor arm for a stacked setup?
A heavy-duty dual gas-spring monitor arm is generally the best choice. It handles weight easily, holds position reliably, and allows smooth independent adjustment of each screen’s height and tilt.
Can I stack an ultrawide monitor with a standard monitor?
Yes, and it’s a popular combination. Typically the ultrawide sits at the bottom as the primary screen and the standard widescreen sits above as the secondary. Just ensure your monitor arm is rated for the ultrawide’s weight and width.
How do I stop my mouse from getting confused between stacked screens?
In both Windows and Mac display settings, align your monitor icons accurately in the arrangement diagram to match their real physical positions. Precise alignment ensures your cursor transitions smoothly and predictably between screens.

Evan Cole is a tech enthusiast and digital strategist with years of experience in content marketing and SaaS trends. He explores emerging technologies, AI innovations, and SEO-driven growth strategies. Evan’s insights help readers understand complex tech topics through practical examples and real-world applications that inspire smarter digital solutions.